Easy Fairy Cake Recipe – Traditional Fairy Cakes in 20 Minutes
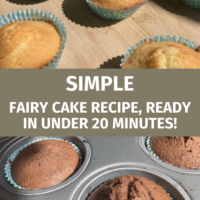
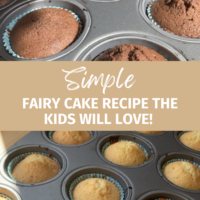
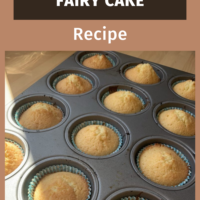
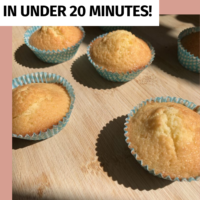
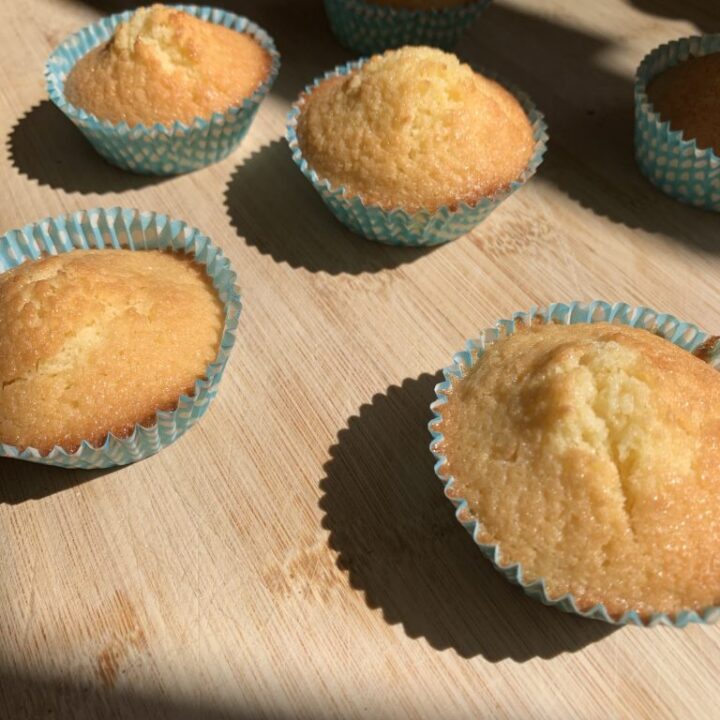
Fairy cakes are one of the first things I learned to bake, and they’re still one of my favourite easy recipes to make with the kids. This traditional fairy cake recipe uses just five simple ingredients and takes around 20 minutes from start to finish.
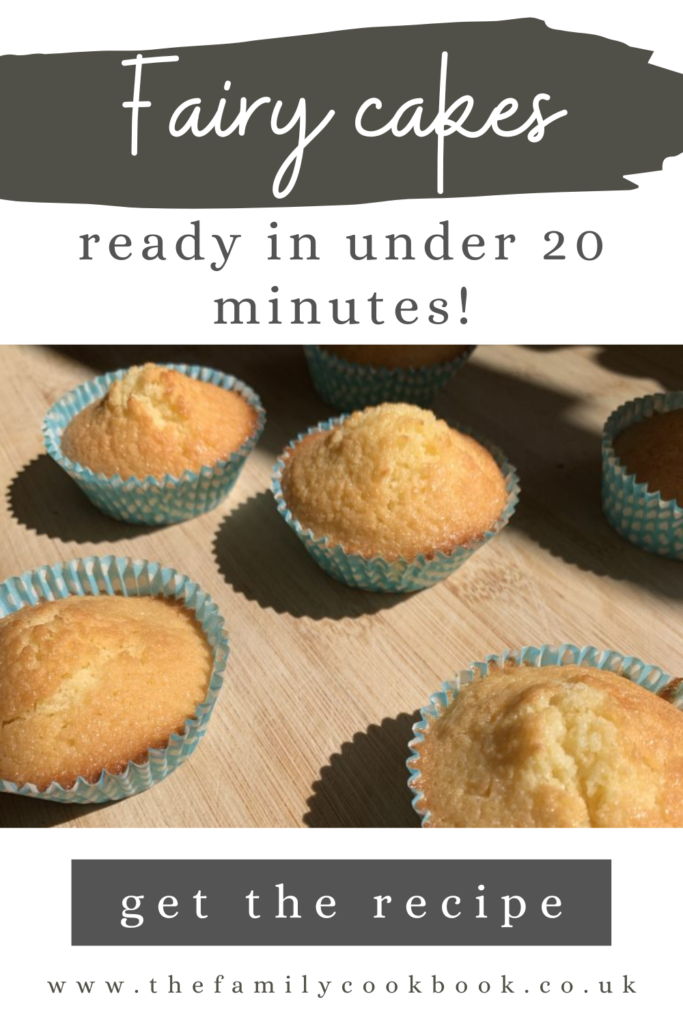
The result is a batch of light, fluffy little vanilla cakes that are delicious left plain or decorated with icing and sprinkles. They’re smaller and simpler than cupcakes, which is exactly how I remember fairy cakes from when I was growing up.
I’ve made this recipe plenty of times over the years and it is incredibly forgiving. You don’t need any fancy equipment or ingredients, and you can easily adapt the basic mixture to make chocolate, coconut or even lemon fairy cakes.
I usually enjoy mine exactly as they are with a cup of tea – preferably with five minutes of peace!

What you need to make fairy cakes
One of the reasons I love this recipe is that you only need five basic baking ingredients.
- 125g self-raising flour – using self-raising flour helps give the fairy cakes their light texture.
- 125g butter – I find softened butter much easier to mix.
- 125g caster sugar
- 2 eggs
- ½ tsp vanilla extract – just enough to give the plain sponge a little extra flavour.
That’s it! It’s a really useful basic fairy cake mixture that you can then leave plain or adapt with different flavours and decorations.
Easy Traditional Fairy Cakes
Ingredients
- 125g Self-raising flour
- 125g Butter
- 125g Caster Sugar
- 2 eggs
- 1/2 tsp vanilla extract
Instructions
- Preheat the oven to Gas Mark 6 / 180°C fan / 200°C conventional and line a 12-hole fairy cake or muffin tin with paper cases.
- Beat the softened butter and caster sugar together until light and well combined. I use my electric mixer, but an electric whisk and large mixing bowl work just as well.
- Add the eggs and vanilla extract, then mix until combined.
- Add the self-raising flour and gently mix until you have a smooth cake batter. Avoid overmixing once the flour has been added.
- Divide the mixture evenly between the paper cases. Fairy cakes are smaller than cupcakes, so don't worry if the cases aren't filled to the top.
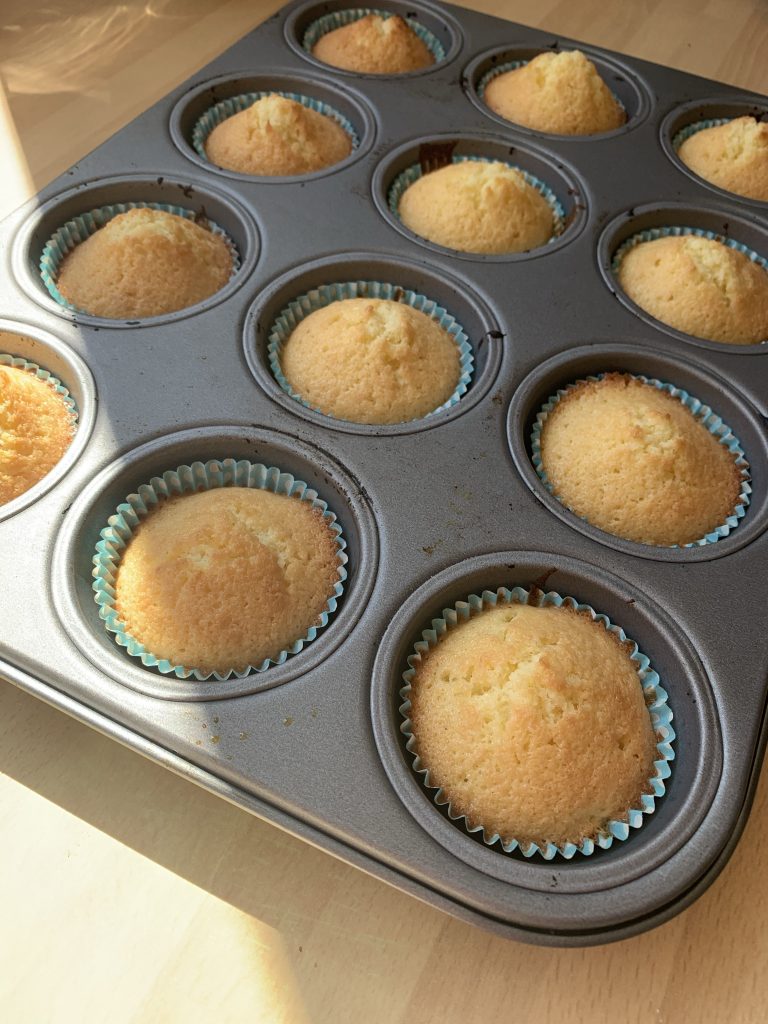
- Bake for around 12–15 minutes, until lightly golden and the cakes spring back when gently touched.
- Leave them in the tin for a few minutes before transferring to a wire rack to cool completely.
What equipment do I need?
You don’t need anything fancy to make fairy cakes. You’ll need a large mixing bowl, wooden spoon or whisk, a 12-hole cake tin and paper cases.
I usually use an electric mixer because it makes things quicker, but an electric hand whisk works just as well – and you can even make them by hand if you don’t mind a little more mixing!
Easy fairy cake flavour variations
The basic fairy cake recipe is really easy to adapt once you’ve made it a few times.
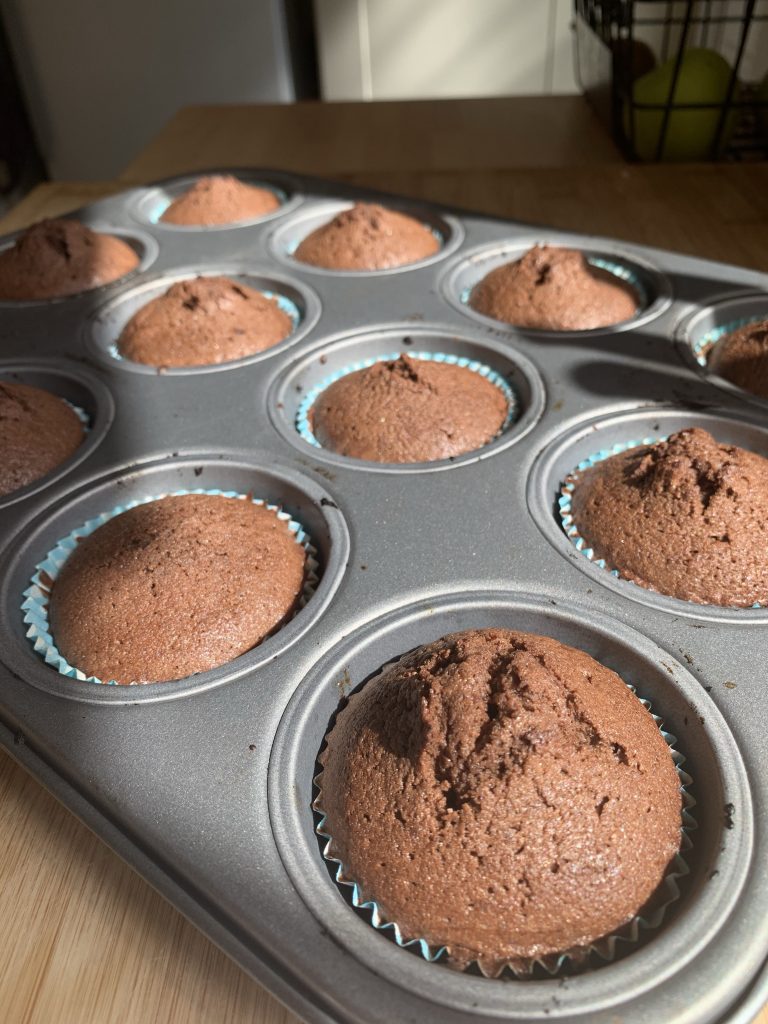
Chocolate fairy cakes
For chocolate fairy cakes, replace 25g of the self-raising flour with 25g cocoa powder.
You can also add chocolate chips. When a reader asked me how many I would use, I suggested around 75g chocolate chips, which gives you plenty of chocolate without overwhelming the little cakes.
Coconut fairy cakes
For coconut fairy cakes, replace 25g of the flour with 25g desiccated coconut.
Lemon fairy cakes
For a lemon version, add some finely grated lemon zest to the basic mixture. You could also top the cooled cakes with a simple lemon icing made from icing sugar and a little lemon juice.
How to decorate fairy cakes
For a special occasion, you could change these cakes into butterfly cakes.
Simply slice the top of each cake off, I find it easier to use a spoon as you can create a little hole in the top of the cake for the icing. Slice this top into 2, it will resemble wings. Then mix 150g icing sugar and 75g unsalted butter to create your icing. Pipe this into the top of the cakes and then place the wings on top.
You could also go with plain icing, using just icing sugar and a little water. The other alternative is to go with a delicious buttercream filling, the combination of soft butter and icing sugar gives you the perfect creamy icing, and if you add a little cocoa powder, you get chocolate icing too.
What is the difference between a fairy cake and a cupcake?
The biggest difference is size. Traditional fairy cakes are smaller than the cupcakes you usually see today and use less mixture in each case.
Fairy cakes also tend to be decorated more simply. You might leave them plain or add a little icing and sprinkles, whereas cupcakes are usually larger and topped with a generous swirl of buttercream or frosting.
For me, fairy cakes are the simpler, more traditional little cakes I remember baking when I was growing up.
How to store fairy cakes
Once completely cool, keep your fairy cakes in an airtight container at room temperature. They’re best enjoyed while they’re still fresh.
You can also freeze undecorated fairy cakes. Allow them to cool completely first, then place them in a freezer-safe container or bag and defrost at room temperature when you want them.
I’ve rarely needed to freeze ours though – they never seem to last long enough in this house!
More traditional baking recipes
If you enjoy simple nostalgic bakes like these fairy cakes, I’ve got a few more family favourites to try.
My Old School Cake is a classic vanilla sponge topped with white icing and colourful sprinkles, while my Jam and Coconut Cupcakes are another easy bake inspired by the cakes many of us remember from school.
Both are simple recipes that are perfect when you fancy a bit of nostalgic baking with a cup of tea.

This looks so yummy
I’ve never heard of fairy cakes before. These would be perfect for parties and gatherings.
Right back to child hood so delicious -will make soon
How much chocolate chips do I need
I would pop in 75g 🙂